Inside The Platform
Sneak Peek at the UI
Get an exclusive look at the gorgeous, responsive dashboard included in the source code. Click on any image to preview and zoom in on the details.
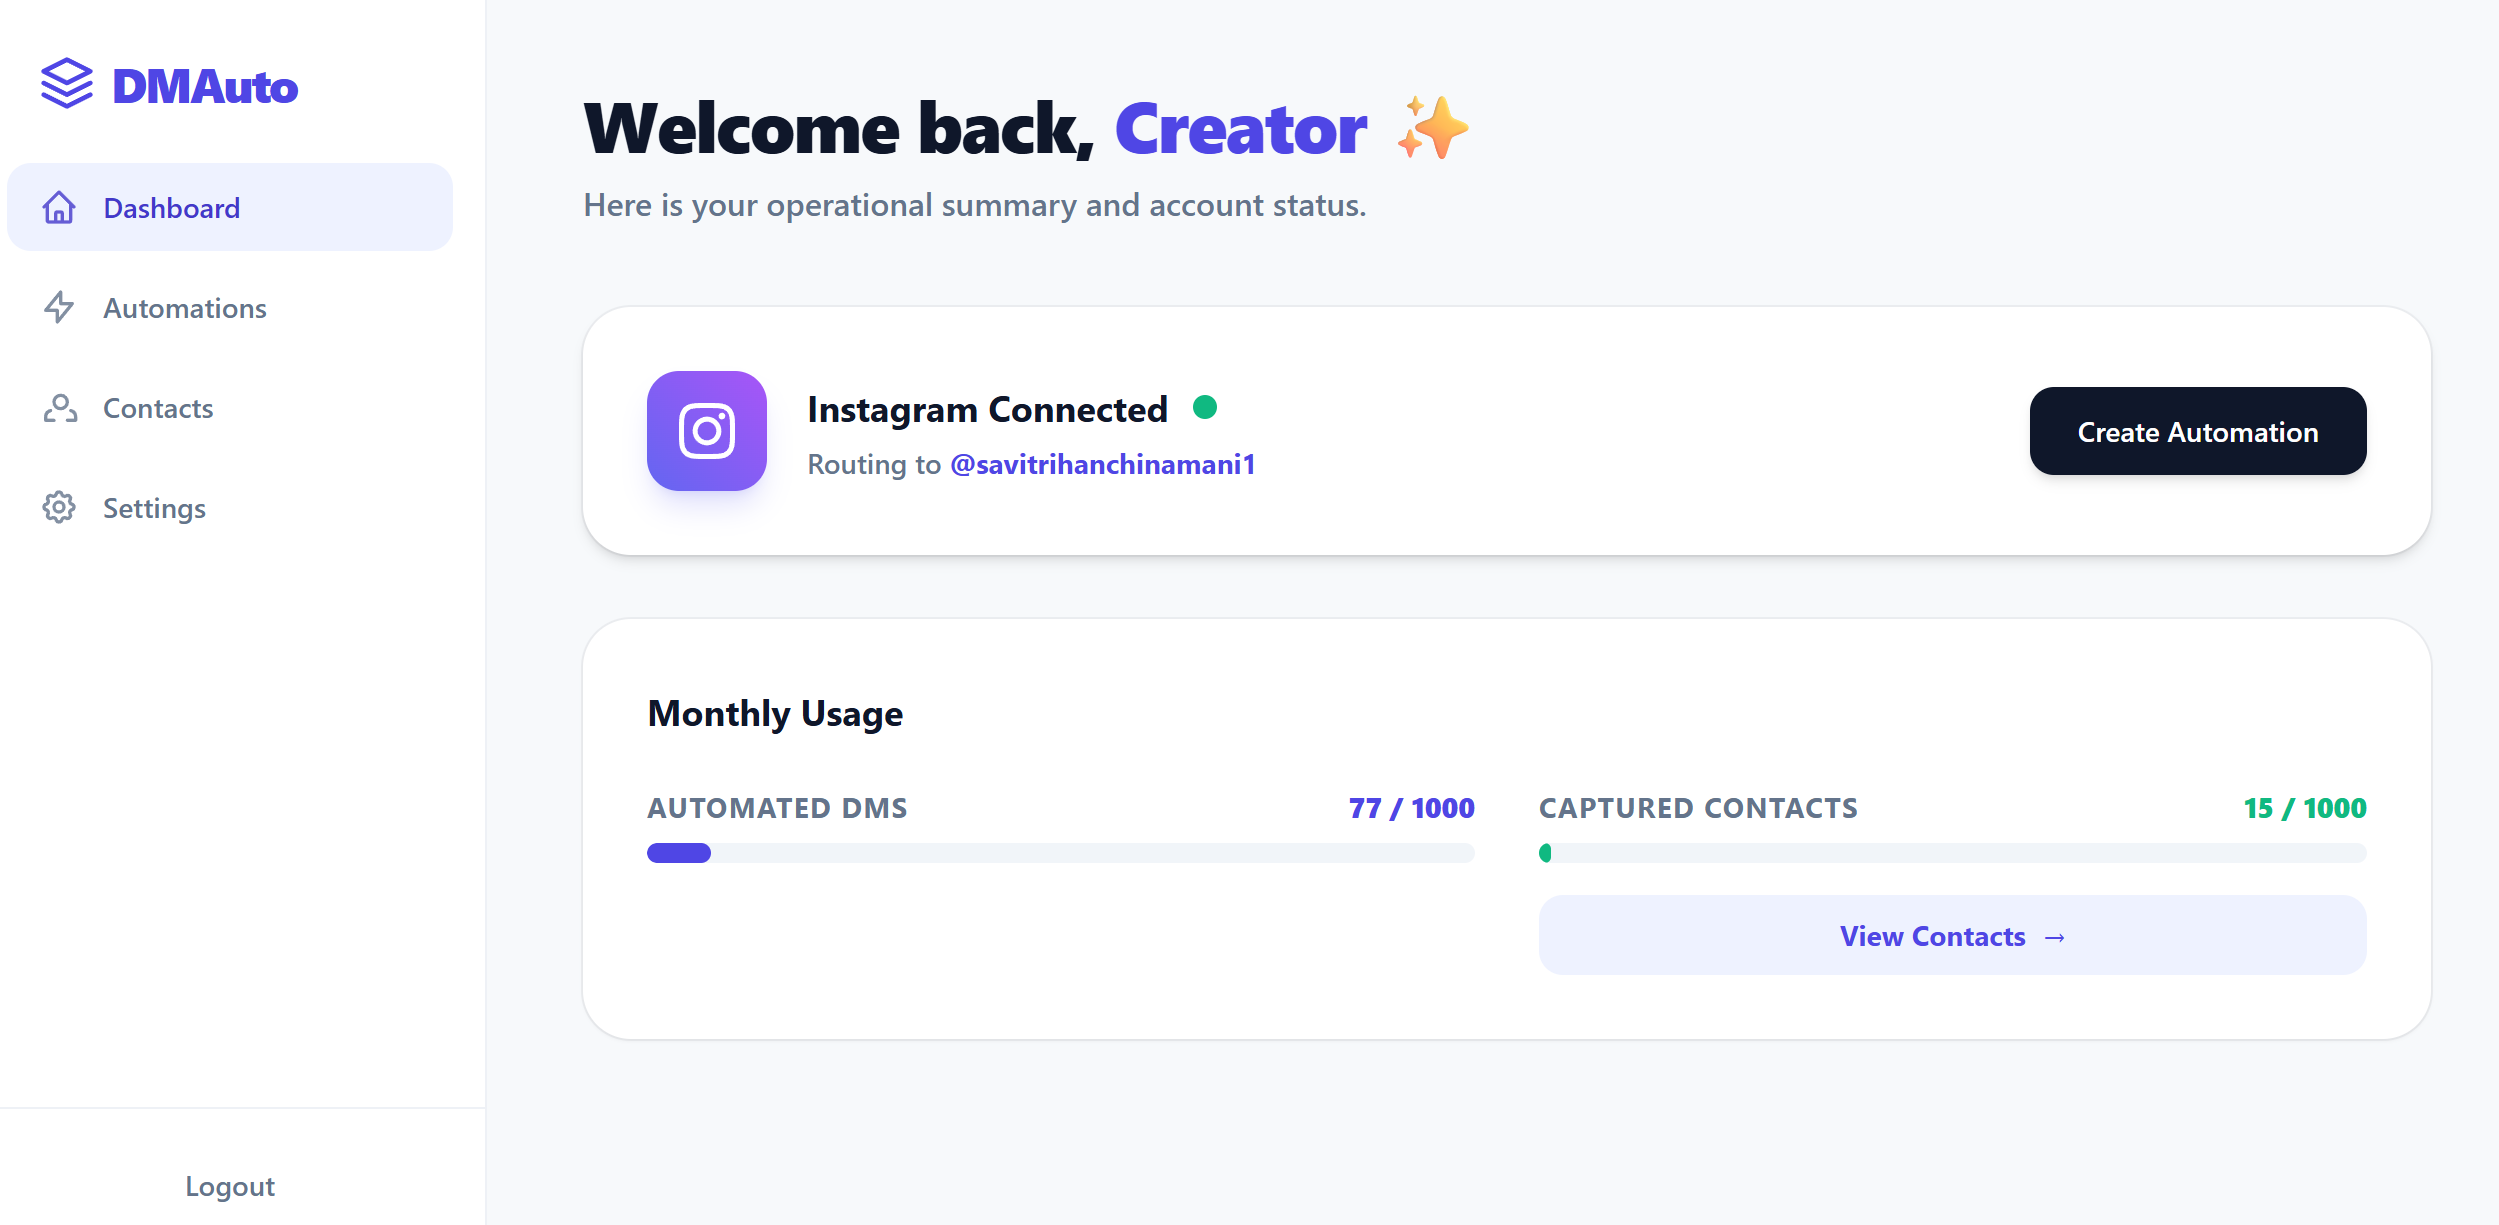
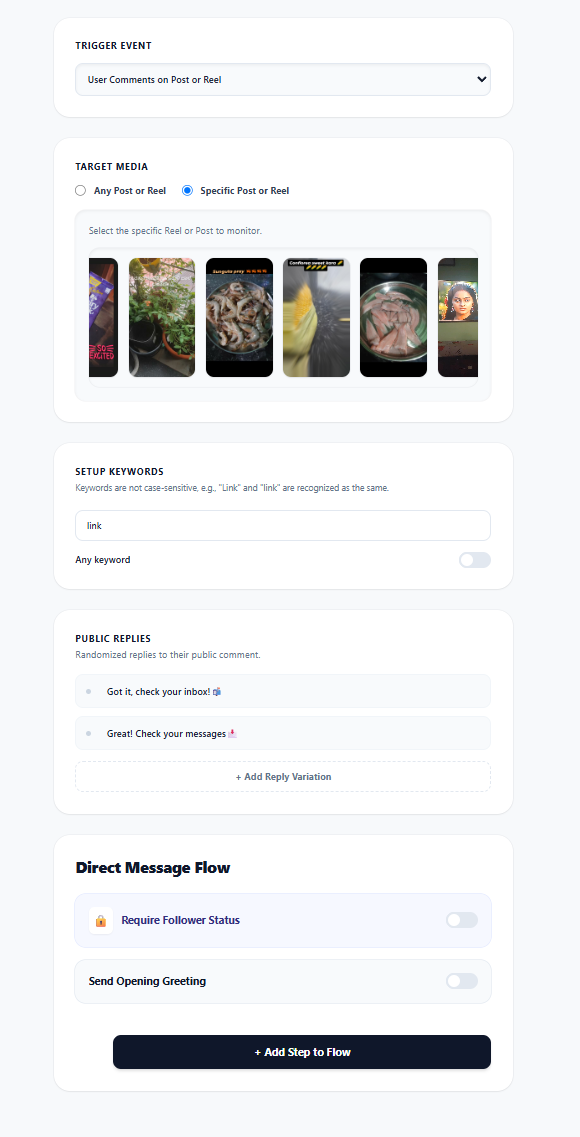
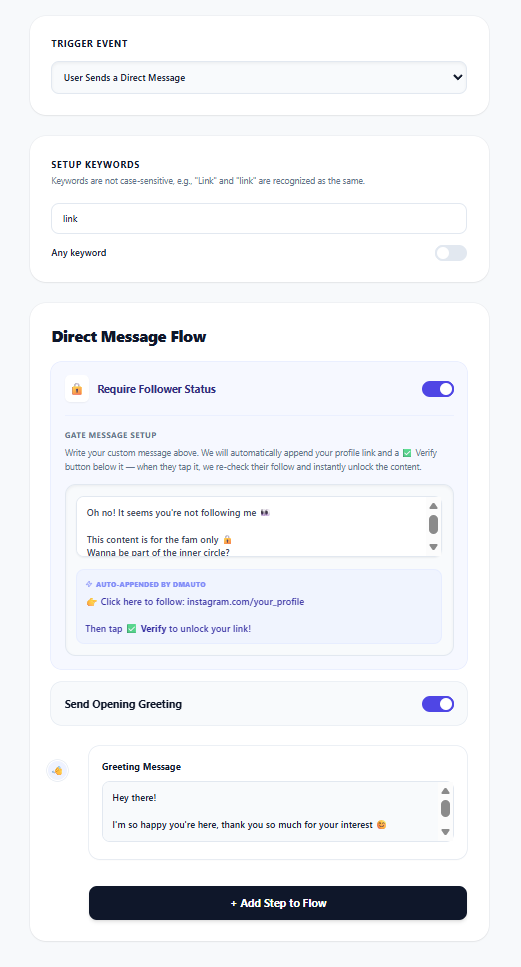
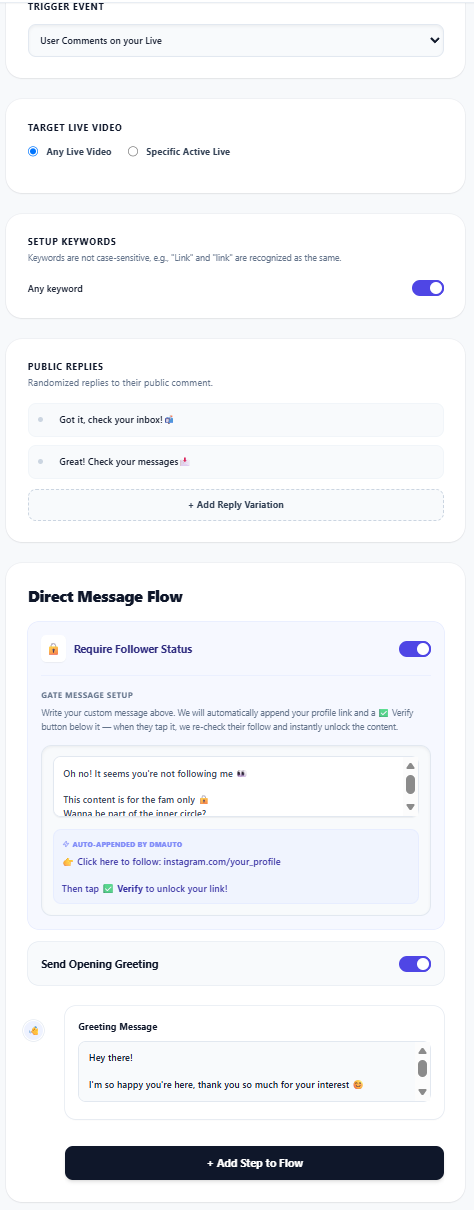
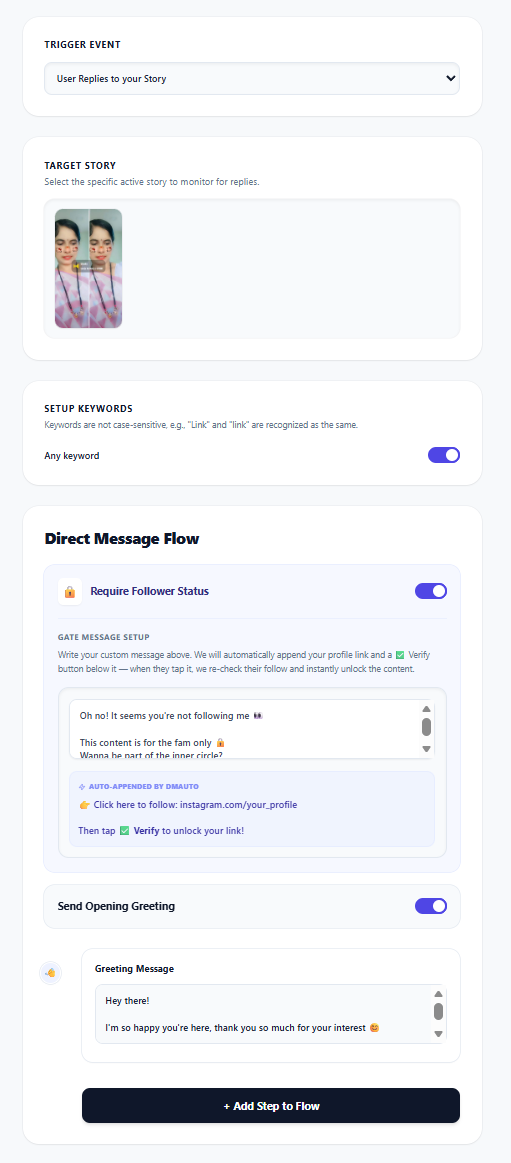
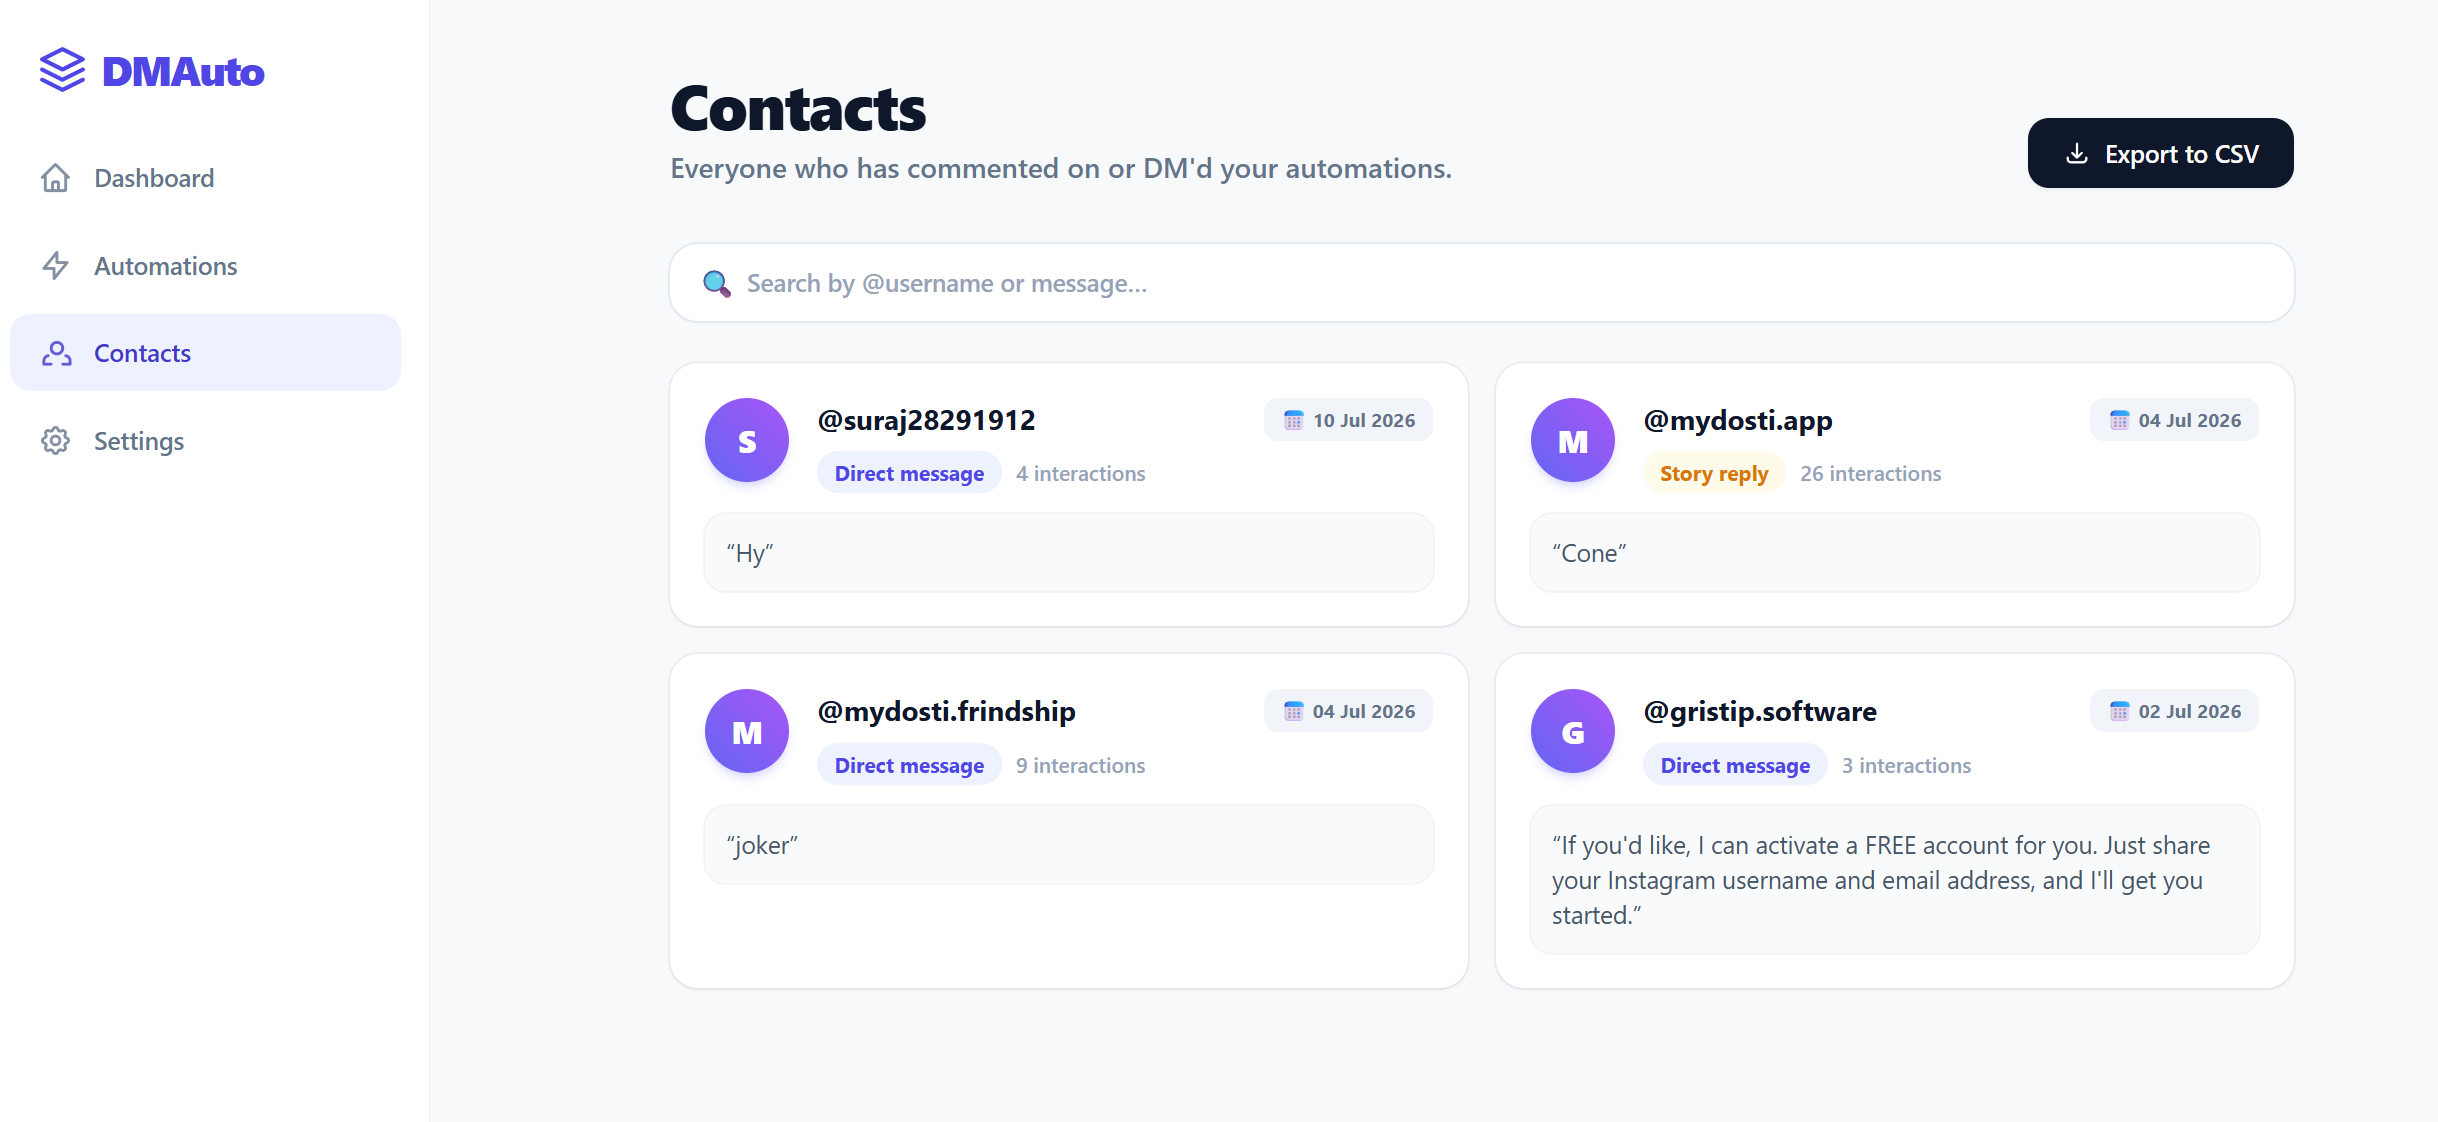
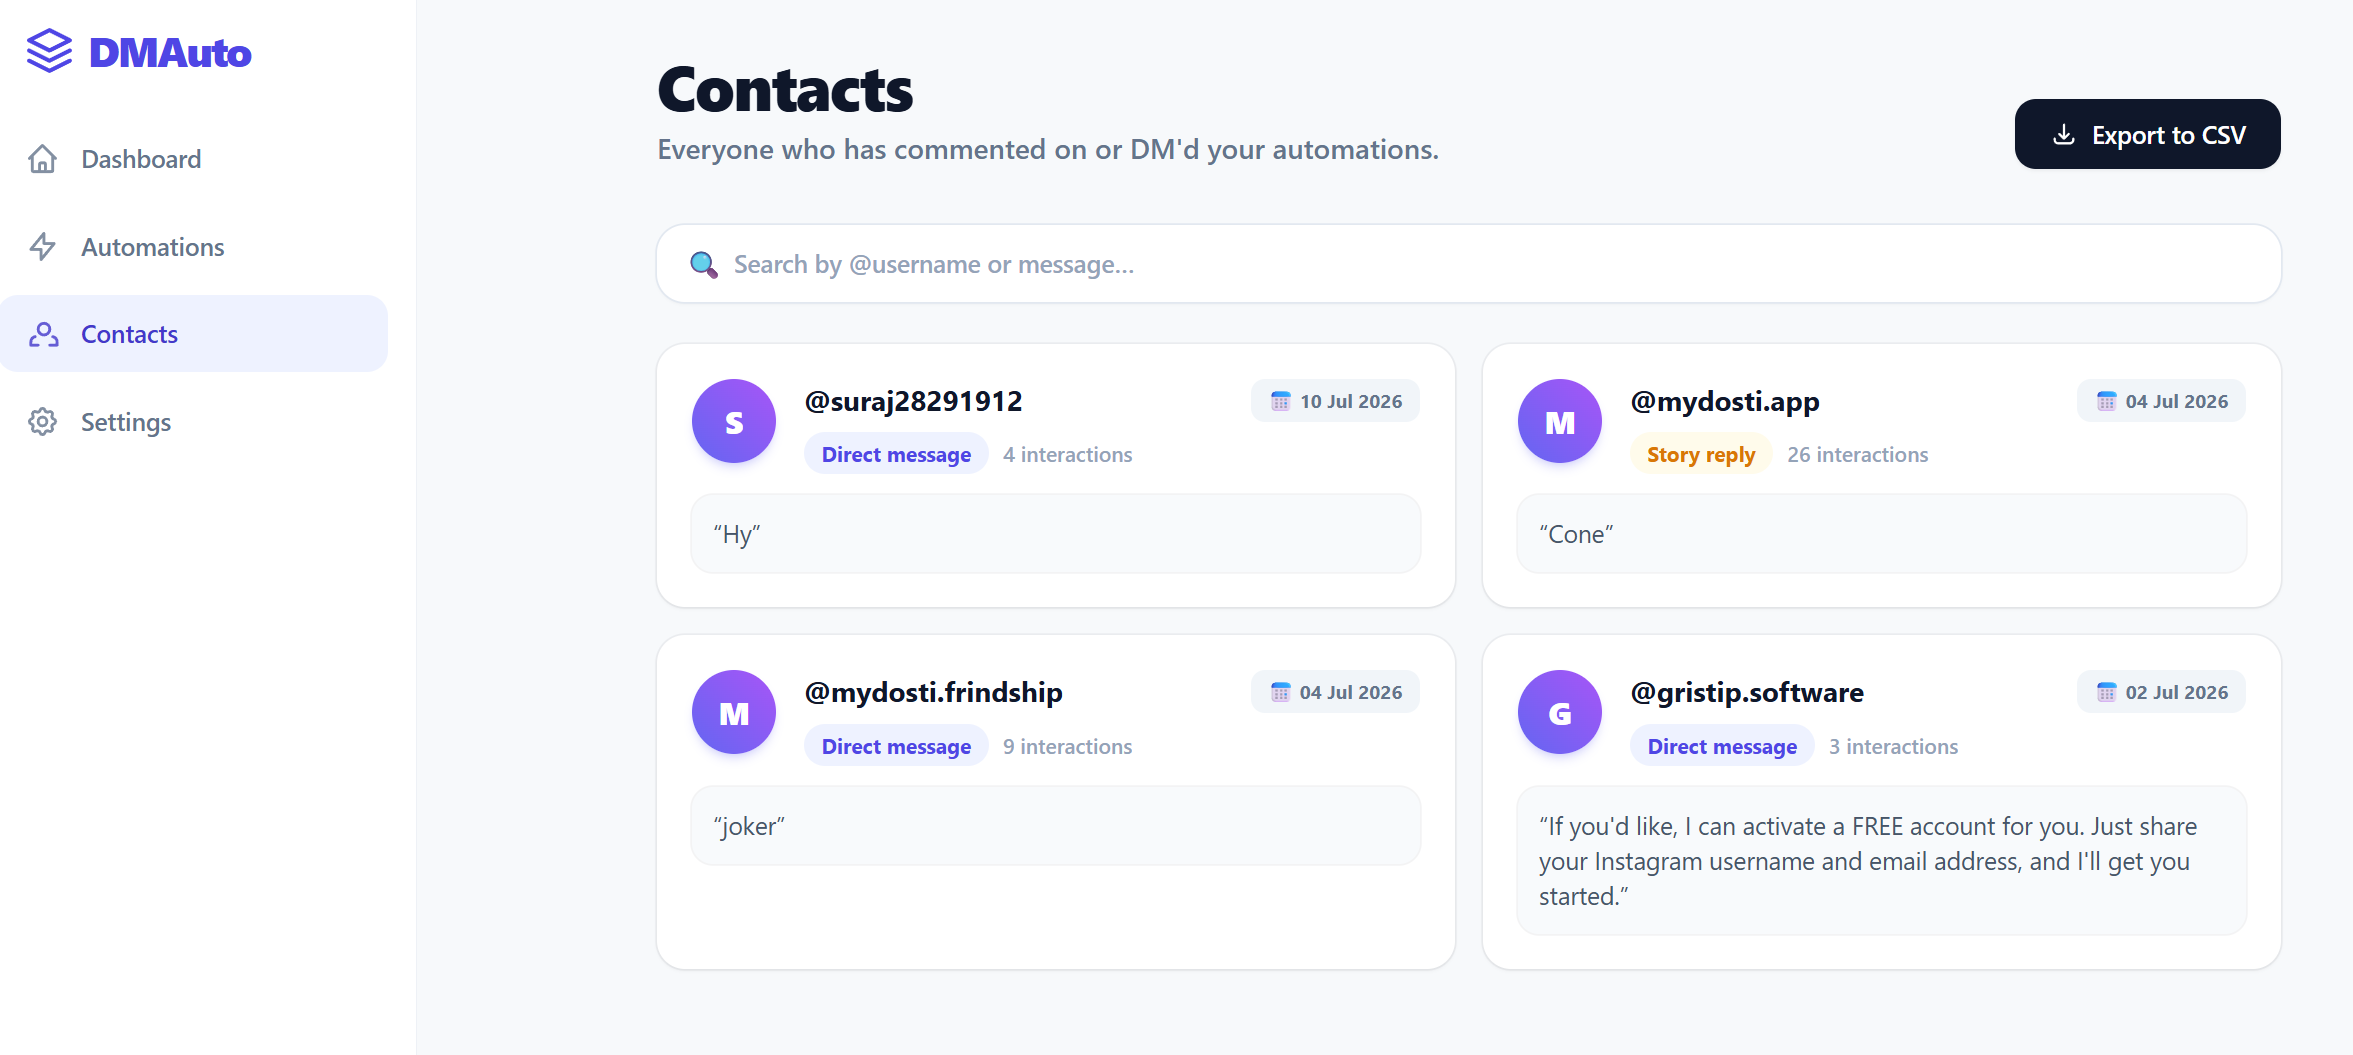
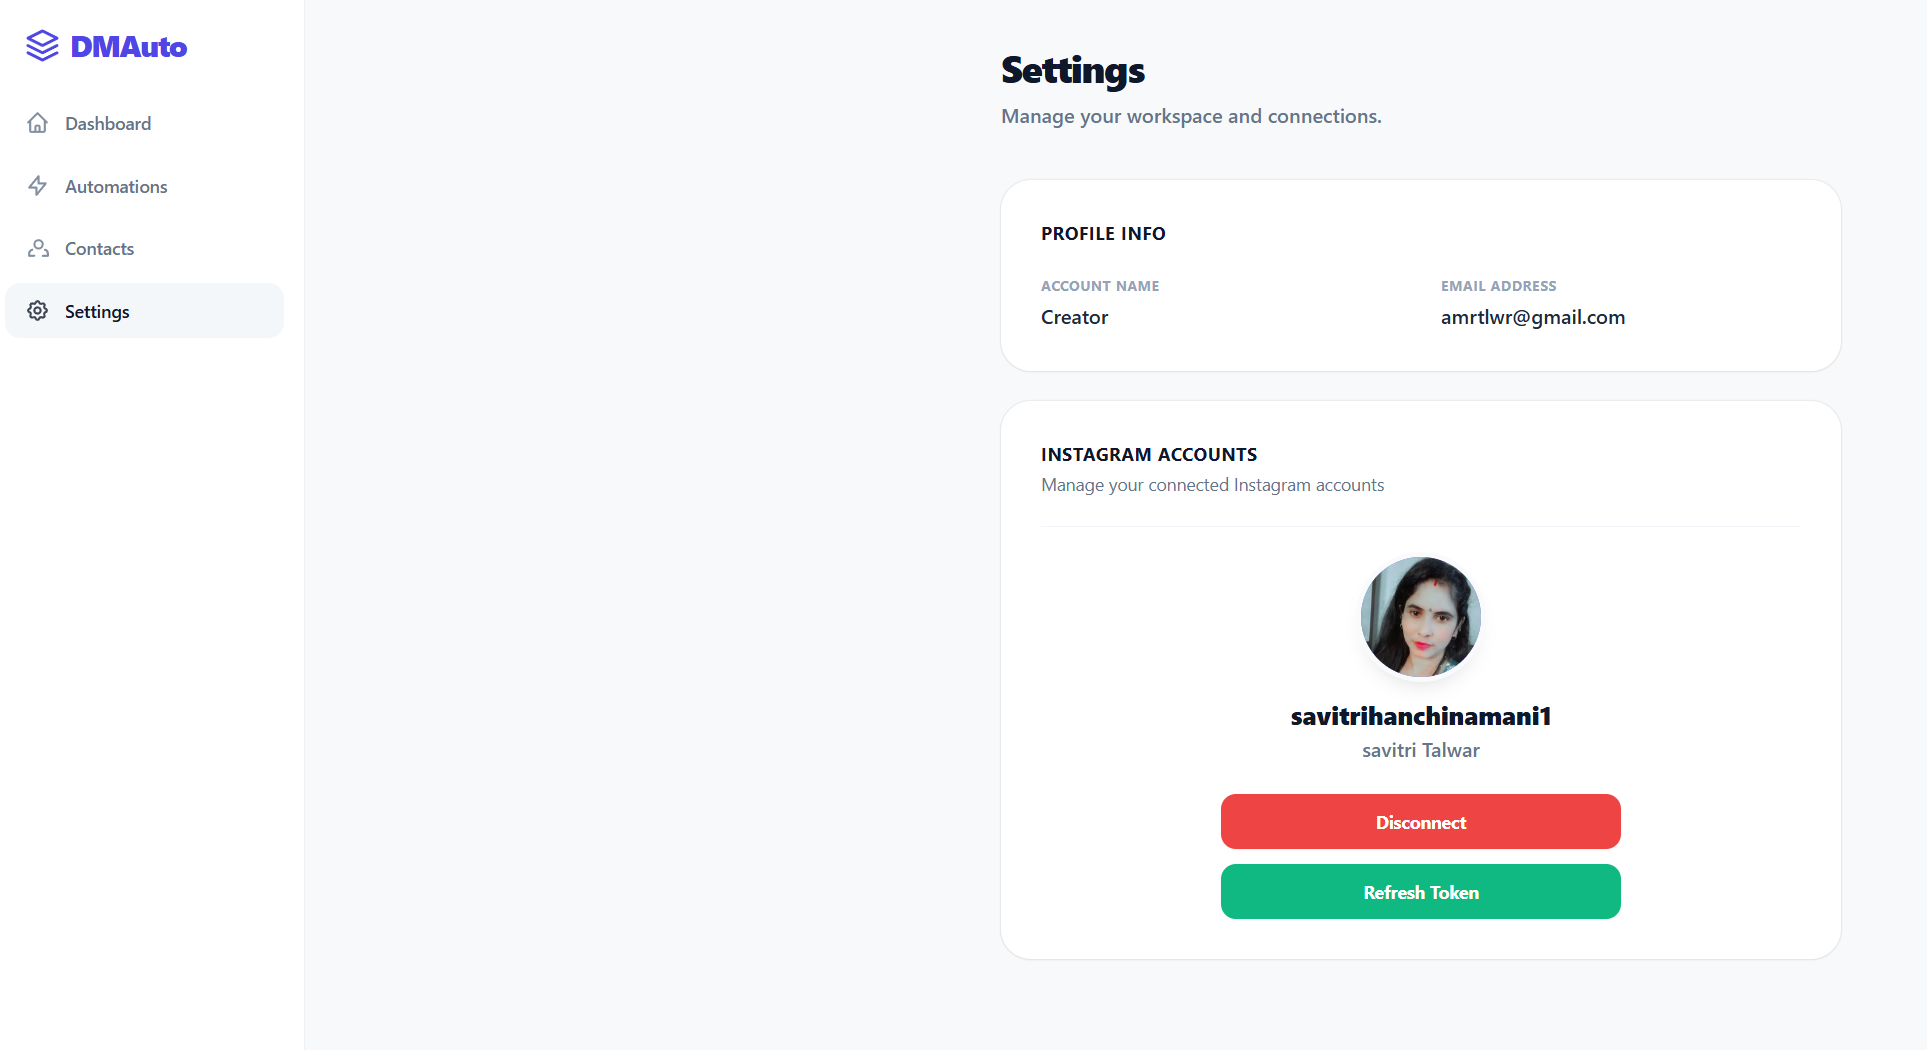
Want to build an automation business or automate client accounts? Skip months of hard development. Get the complete, ready-to-launch website and backend engine. Just deploy, customize, and start monetizing instantly — even if you're new to automation.
Clean, fully documented code prepared for immediate deployment.
Schedule and completely auto-publish reels, carousels, and stories securely without manual interaction.
Intercept post comments and trigger contextual conversational DMs instantly to funnel users to sales links.
Includes custom human-like delay intervals and BullMQ Redis queues built right into the backend core structure.
Get an exclusive look at the gorgeous, responsive dashboard included in the source code. Click on any image to preview and zoom in on the details.
Buy the core source code today and receive custom premium developer add-ons completely free.
Step-by-step documentation showing you exactly how to host, inject credentials, and fire up the system in under 15 minutes.
Get a responsive minimal admin control panel interface template to monitor bot stats and edit triggers visually.
The codebase relies on Node.js, MongoDB, Redis, and Cloudflare R2. Follow these instructions to populate your .env file and launch your app.
Create a file named .env in the root of your project directory and paste the following template. Fill in the values based on the instructions below.
VERIFY_TOKEN=my_super_secret_token_123
CLIENT_ID=
CLIENT_SECRET=
REDIRECT_URI=https://example.com/auth/instagram/callback
MONGO_URI=mongodb://127.0.0.1:27017/instagram_db

# Cloudflare R2 Storage (For Image Uploads)
CLOUDFLARE_ACCOUNT_ID=
R2_ACCESS_KEY_ID=
R2_SECRET_ACCESS_KEY=
R2_BUCKET_NAME=
R2_PUBLIC_CUSTOM_DOMAIN=

# Redis (For Rate-Limited Delivery Queues)
REDIS_URL=redis://127.0.0.1:6379/1Create an app in the Facebook Developer Portal. Add the "Instagram Graph API" product.
/auth/instagram/callback. Must be added to your Meta App's valid OAuth URIs.The system uses MongoDB to store active creators, automation rules, captured contacts, and lead form data.
Used to host images uploaded into Rich Card automations via the S3-compatible API.
This codebase uses an advanced BullMQ delivery queue backed by Redis to prevent Meta API rate limits and handle retries gracefully.
This source code uses Google Firebase for secure user authentication (Registration & Login). To initialize the Firebase Admin SDK on the backend, you must generate a private service account key.
firebase-account.json.server.js.Get the raw code, or let me handle the heavy lifting for you.
Best for developers who know how to host Node.js apps.
I will personally deploy and configure the system for you.